Off-Grid LED Lighting Installation Checklist
Off-Grid Power Requirements:
12V and 24V (low voltage lighting)
12V AND 24V
Low voltage LED lighting is recommended and preferred for DIY Off-Grid Lighting.
LEDs are connected to a low voltage power supply, converting 120V into 12V and 24V, and keeping accidents to a minimum. Low voltage lighting also produces less heat, making for a more comfortable space
1. Do you have direct access to outlets or will you need to hard-wire?
2. How will you run your wire so that it is best concealed?
ADVANTAGES
Simple for DIY installations with no electrical wiring necessary
Electrical access is not required
Recommended Tools Checklist For Low Voltage 12V and 24V Installations:
CORDLESS DRILL
SCISSORS OR WIRE CUTTER
WIRE STRIPPER/CUTTER
2-WIRE 18AWG FOR STANDARD LIGHTING
4-WIRE 18AWG FOR RGB
5-WIRE 18AWG FOR RGBW
Materials needed for Low Voltage Off-Grid Light installations


MINI GIMBAL RECESS LED SPOT LIGHT
1.75 inch Recess LED Cabinet Spot Light
Available in 2 trim colors, Recessed only.
Wire: 18AWG 2-wire requirement.
THIN PANEL LED DOWNLIGHTS
4 inch and 6 inch 12V DC Recessed LED Thin Panel Downlights
Ideal for replacing recessed pot lights, Low power consumption.
Wire: 18AWG 2-wire requirement.

RD12 MINI LED RECESSED STEP LIGHT
Super small 1-3/8 inch recess LED cabinet light
Very versatile, can be used as a plinth light or an upper cabinet light.
Wire: 18AWG 2-wire requirement.

RT05 LOW VOLTAGE LED STEP LIGHT
Includes LED Light Engine, Gasket, and Trim. Indoor/Outdoor cETLus wet location rated. 3 Year Warranty. Use as a step light, path light, and deck light.
Wire: 18AWG 2-wire requirement.

RD10 LED PUCK LIGHT
2.25 inch recess or surface mounted LED Cabinet Light
Available in 3 Trim colors Surfaced Mount or Recessed.
Wire: 18AWG 2-wire requirement.

LED Strip Lights
Indoor 3528 Ultra Thin Flexible LED Strip with Double Sided 3M Tape. XBrite SMD LED Technology. 3 Year Warranty. Ideal for Cove Lighting, Displays and Cabinet Lighting.
Wire: 18AWG 2-wire requirement.

Indoor Ultra Bright and Thin Flexible LED Strip with Double Sided 3M Tape. Twice the number of LEDs than our Indoor 3528 Flexible Tape. XBrite SMD LED Technology. 3 Year Warranty. Ideal for Cove Lighting, Displays and Cabinet Lighting.
Wire: 18AWG 2-wire requirement.

Outdoor Fully waterproof Ultra Thin Flexible LED Strip with silicone covering. XBrite SMD LED Technology. 3 Year Warranty. Ideal for deck and soffit, outdoor lighting, back bar lighting, mood lighting.
Wire: 18AWG 2-wire requirement.

Off-Grid LED Bulbs
Color Options:
3000K, 6000K
Voltage:
10-30V DC
Watts / Lumens:
3.2W / 180 Lumens
Size:
Ø0.71 x 1.77 in.

Low Voltage A19
Color Options:
3000K
Voltage:
10-30V DV
Watts / Lumens:
9W / 810 Lumens
Size:
Ø2-9/16 x 4-49/64 in.

Color Options:
3000K, 4500K, 6000K
Voltage:
12V AC/DC
Watts / Lumens:
1.5W / 210 Lumens
Size:
1.10 x 0.4 in.
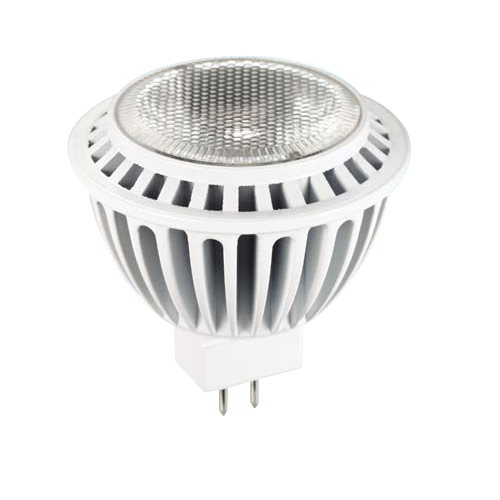
Color Options:
2700K, 3000K, 5000K
Voltage:
12V AC/DC
Watts / Lumens:
7W / 550 Lumens
Size:
Ø1-31/32 x L2-1/64 in.

Linkable LED Linear LighTS
Color Options:
3000K, 4000K
Finish:
Aluminum
Watts / Lumens:
3W, 5W, 15W / 225, 410, 1100
Length:
6 in., 12 in., 40 in.
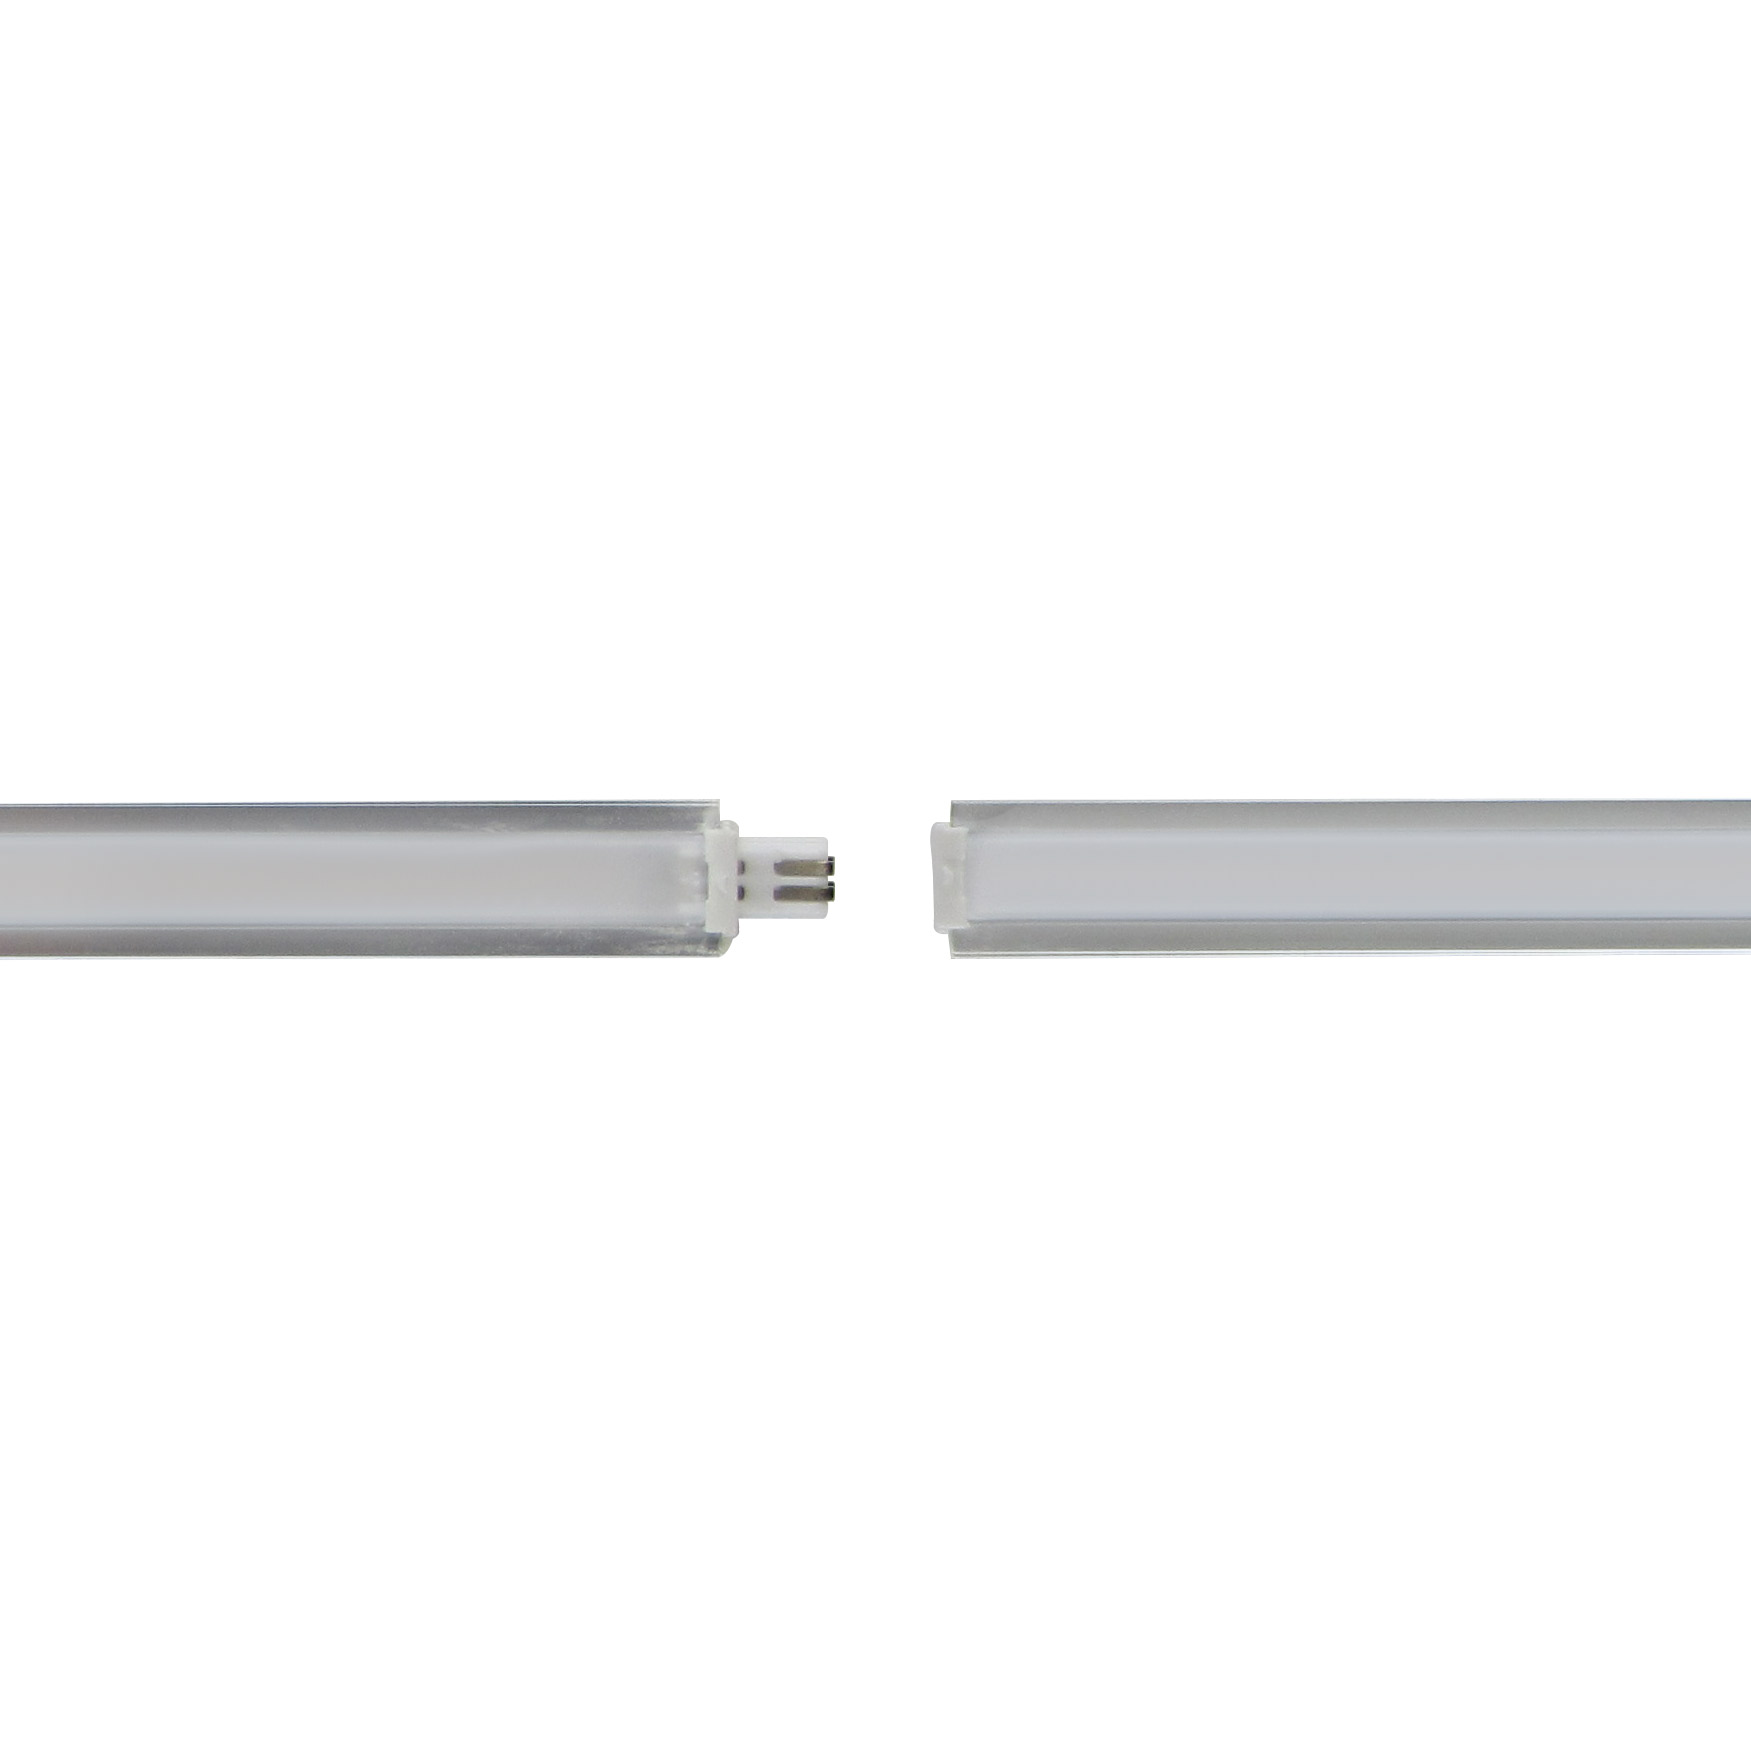
Linkable LED Mini Linear Light
Color Options:
3000K, 4500K
Finish:
Aluminum
Watts / Lumens:
2.8W / 200 Lumens
Length:
12 in.
Accessories:

90° Swivel Mounting Clips

12 in. Power Feed

12 in. Corner Connector
1
MEASURE AND EQUIP
Measure distances for space between lights, and determine whether you will be wiring to dimming switch plates, connecting power switches directly, or using wireless remotes.
2
DETERMINE YOUR LED LIGHTING REQUIREMENTS
What is the purpose of your lighting? Is it ambient or functional? Do you require flush mounted lights, or surface mounted?
3
CHECK LOCAL BUILDING CODES & STANDARDS
Be sure to check electrical code requirements and regulations for your region, and consult or hire an electrical contractor if unsure, or if hard-wiring is necessary.
4
PLAN LED LOCATIONS AND WIRE ROUTING
Carefully plan and mark your LED lighting locations, paying specific attention to cut-out sizes, depths, and wire routing.

DIY Installation Requirements
INSTALLATION MATERIALS REQUIRED
SELECTED LED LIGHTS FOR APPLICATION: LL50 LINKABLE LED LIGHT, RD7 LED PUCK LIGHT, RD10 LED PUCK LIGHT, RD12 MINI LED SPOT LIGHT, RD24 LED GIMBAL LIGHT, RD10 RGB LED COLOR CHANGING PUCK LIGHT.
CORRECT WIRE AND LENGTHS FOR APPLICATION: 18 AWG 2-WIRE FOR STANDARD APPLICATIONS, AND/OR 18AWG 4-WIRE FOR RGB COLOR CHANGING LEDS. TRACE THE LINE FROM THE POWER SOURCE TO THE LED LOCATION USING STRING TO DETERMINE LENGTHS REQUIRED.
WIRE STRIPPER/CUTTER.
WIRE CONNECTORS AND/OR MARETTES (WIRE NUTS). YOUR LEDS SHOULD COME WITH THE CONNECTORS REQUIRED TO ATTACHED TO THE POWER SUPPLY, HOWEVER YOU MAY ALSO NEED METHODS OF CONNECTING WIRE TO WIRE.
HOLE CUTTING TOOL: 2-1/4" HOLE SAW FOR RD10 LED PUCK LIGHTS, 1-3/8" FOR RD12 MINI LED LIGHTS, AND 1-3/4" FOR RD7 PUCK LIGHTS.
CORRECT POWER SUPPLY: 12V LOW VOLTAGE POWER SUPPLY (DRIVER) REQUIRED FOR RD10, RD24, RD12, AND RD7. 24V LOW VOLTAGE POWER SUPPLY (DRIVER) REQUIRED FOR LL50. CHOOSE WHETHER YOU NEED YOUR LOW VOLTAGE DRIVERS TO PLUG INTO A STANDARD OUTLET OR IF THEY WILL BE HARD-WIRED.
CORDED OR CORDLESS DRILL.
DIY CABINET LIGHTING INSTALLATION
12V and 24V Low Voltage Lighting is relatively simple to install, and can be performed without accessing 120V wiring. Most applications can be done by connecting a Low Voltage Power Supply with a plug that will connect to any existing outlet. If hardwiring is required, seek out a professional electrician.
WARNING:
Pay careful attention to the wire connections, especially if installing an in-line dimmer. The negative (-) and sometimes black wire must connect to the negative connector on a power supply (-) or wire on the LED. Do not let the wires touch each other. If the wires touch while connected to the Power Supply, you will risk possible and irreparable damage to the LEDs and/or Power Supply.